Applying Easy Peel DTF Transfers with a Heat Press
Achieve crisp, professional-quality prints using Easy Peel DTF Transfers and a standard heat press. This guide outlines the ideal temperature, pressure, and peel timing to ensure smooth application and lasting results on BulkApparel blanks.
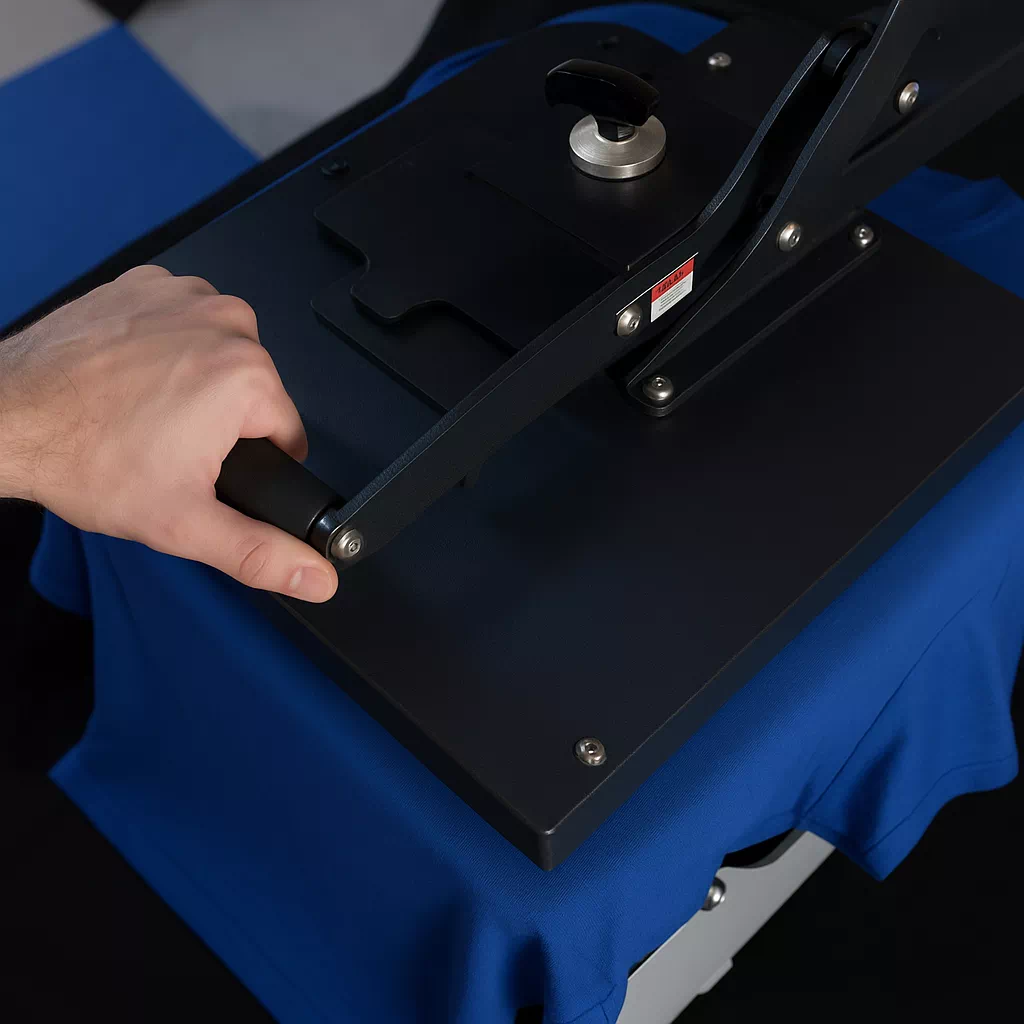
Step-By-Step Pressing Instructions
Follow these steps to ensure perfect application every time.
1. No Need to Pre-Press or Pre-Iron
There’s no need to remove moisture or wrinkles before applying BulkApparel’s DTF Transfers. Pre-pressing is optional and can be used for additional smoothness if desired.
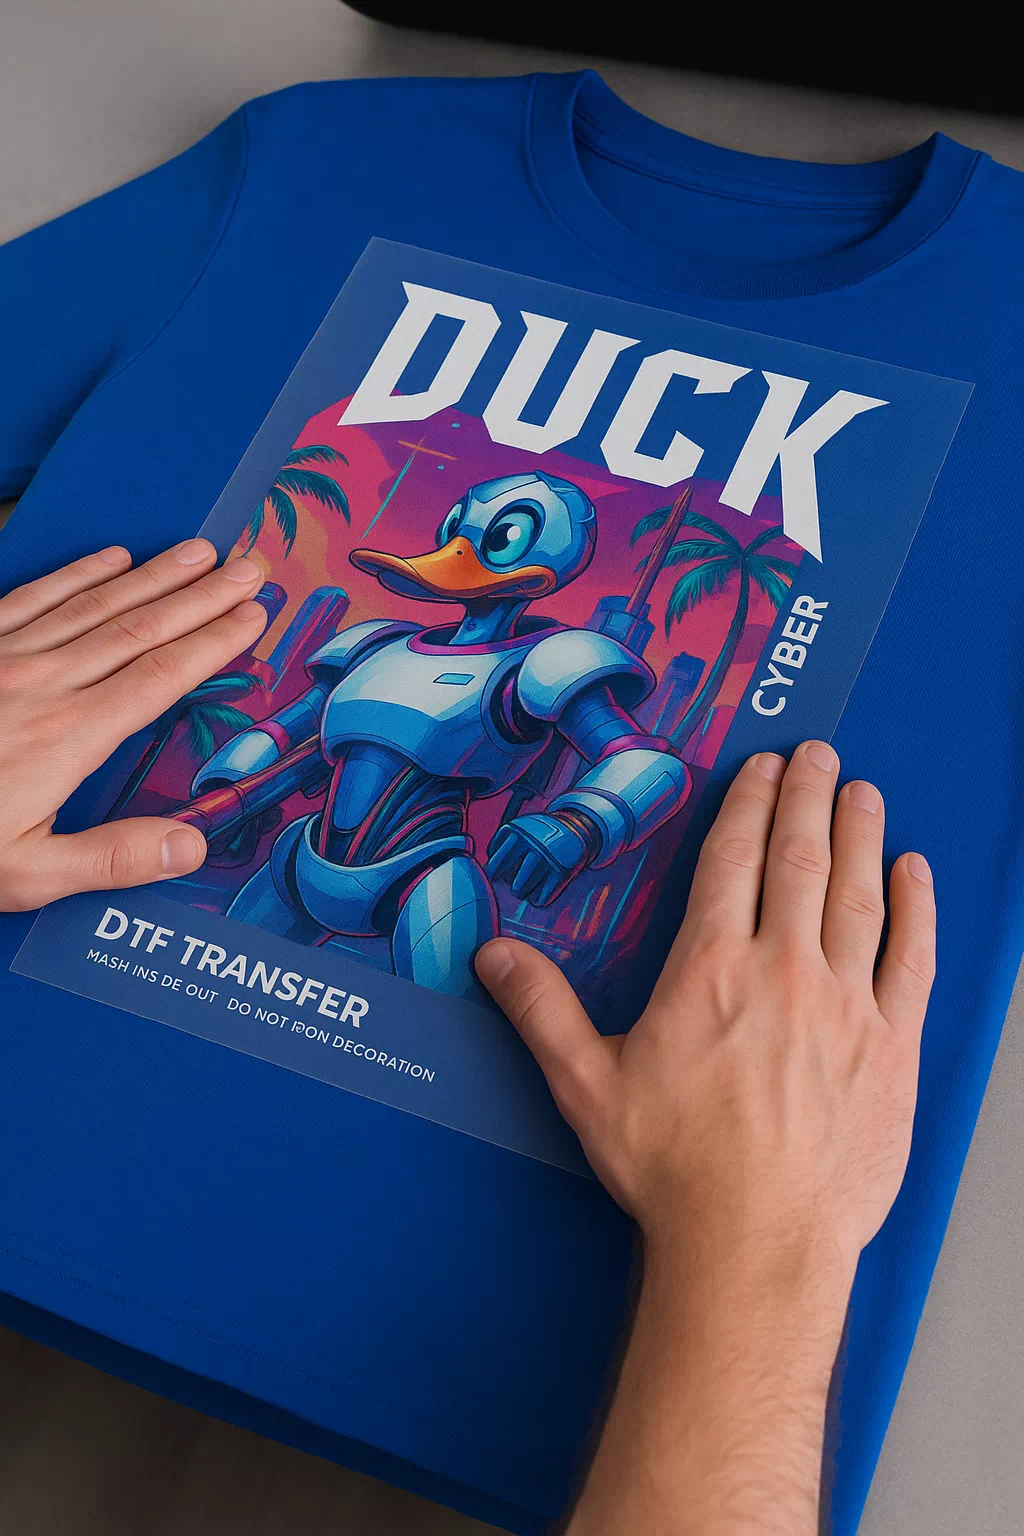
2. Position Your Design
Place your transfer in the desired location and ensure it is completely flat before pressing. It’s perfectly fine to press over seams, such as those on 6-panel hats or the seams of T-shirts. For added stability, especially when working with hats or using a household iron, heat-resistant tape is recommended to keep the transfer from shifting.
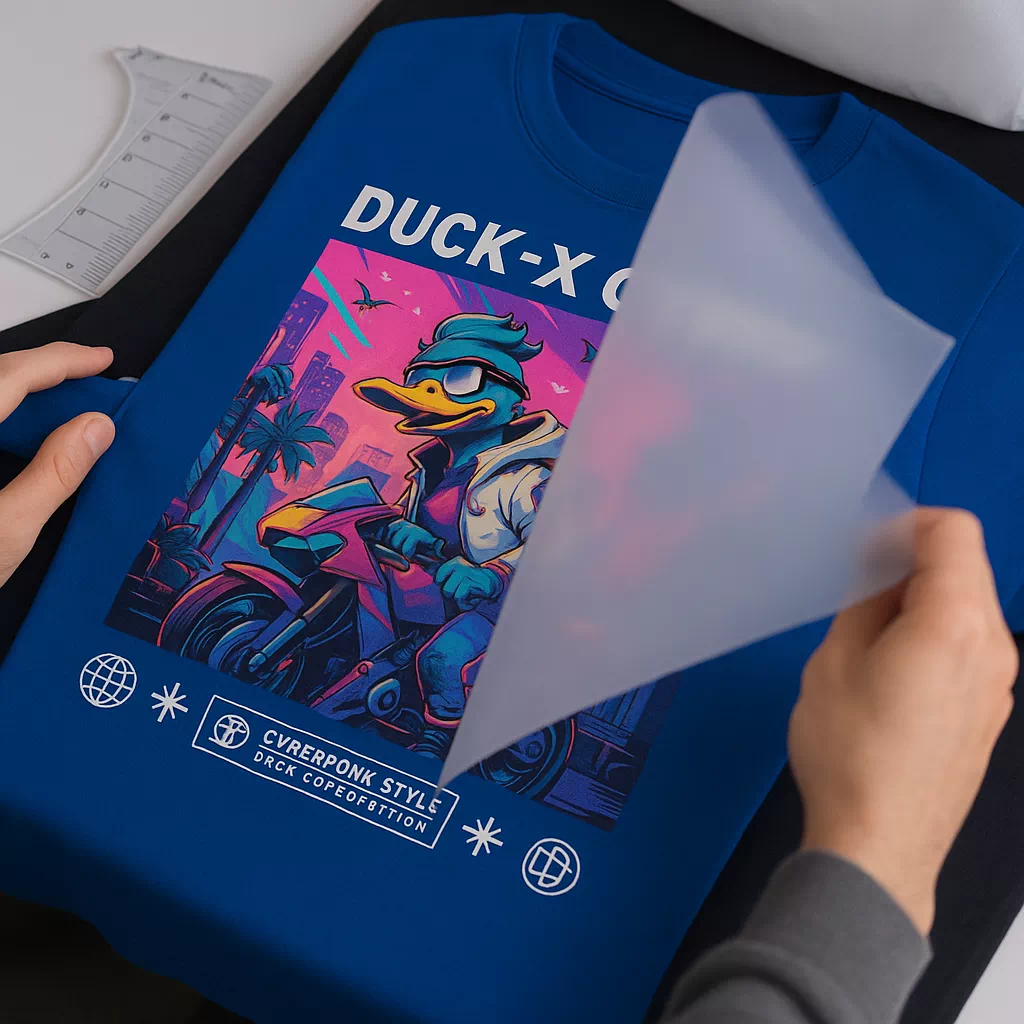
3. Press & Peel After a Few Seconds
Press the transfer at 310°F / 155°C with medium to high pressure for about 12 seconds. Test on one garment first. Use parchment paper or BulkApparel’s Silicone Upper Platen Cover to prevent scorching and protect the fabric.
Wait a few seconds, then peel the film. If parts of the design don’t stick, press again with more pressure and increase the temperature by 15°F. This can be repeated without damaging the transfer.
If scorching occurs, reduce pressure first. If needed, also lower the temperature by 10–15°F. When using the silicone cover, increase the temperature by 25–40°F to account for its thickness.
4. Final Press & Washing Tips
Don’t skip the final press. While many DTF providers recommend a single press, our testing shows that a second press is essential for a high-quality finish. After peeling the film, place parchment paper over the design and press again for 15 seconds. This extra step improves durability, adds softness, and reduces unwanted shine.
To keep your prints looking their best, wash garments inside out in cold water. Use a gentle cycle when possible, and either tumble dry on low or hang dry. Standard wash settings are acceptable, but more delicate care extends the life of your design.
Troubleshooting Common Issues
Even with the right technique, challenges can arise. Here’s how to address the most common heat transfer problems:
Transfer Not Sticking to Fabric
- Re-press with additional pressure and increase the temperature by 15°F
- Still not working? Continue increasing the temperature in 15°F increments until the transfer sticks
Tip: Reapplying heat won’t harm the transfer, Don’t hesitate to press multiple times.
Design Cracking or Peeling After Washing
- Turn garments inside out before washing
- Use cold water and set your machine to a gentle cycle
- Avoid using bleach or strong detergents
- Choose to air dry or use a low-heat tumble setting
Transfer Moving During Application
- Use Thermal Heat Tape to secure the design in place
- Close the press slowly to prevent air movement
- Pre-press the garment to smooth out wrinkles
- Make sure your work surface is flat and stable
- For extra help, consider a placement guide or our DTF Alignment Ruler Set